August 2024 - Chisholm Plumbing, Heating & Air Conditioning

pipe burst emergency

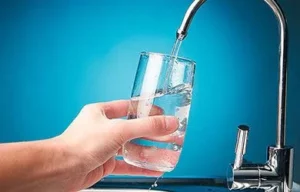
A burst pipe can quickly escalate from a minor inconvenience to a major emergency, causing extensive damage to your home and belongings. Acting swiftly during such emergencies is crucial to minimizing damage and preventing costly repairs. In this blog post, we will guide you through the immediate steps to take when a pipe bursts, explore the common causes of burst pipes, and share preventive measures to avoid future disasters. With Chisholm Plumbing, Heating & Air Conditioning by your side, you can ensure your plumbing system remains in top condition, safeguarding your home from unexpected emergencies.

Immediate Steps to Take When a Pipe Bursts

Dealing with a burst pipe can be overwhelming, but taking swift action can help minimize damage and restore order. Here are the immediate steps to follow when you discover a burst pipe in your home:

  1. Turn Off the Main Water Supply
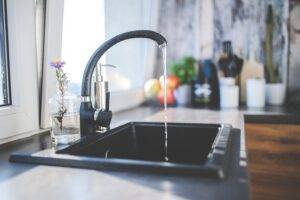
    Locate and shut off the main water valve to prevent more water from flowing into the damaged pipe. This step is crucial to stopping the spread of water and reducing further damage. If you’re unsure where your main water valve is located, familiarize yourself with it in advance to be prepared for emergencies.
  2. Drain the Remaining Water from Pipes
    After shutting off the main water supply, open all faucets and flush toilets to drain the remaining water in the pipes. This step helps reduce the pressure on the pipes and minimizes water leakage.
  3. Identify the Source of the Burst
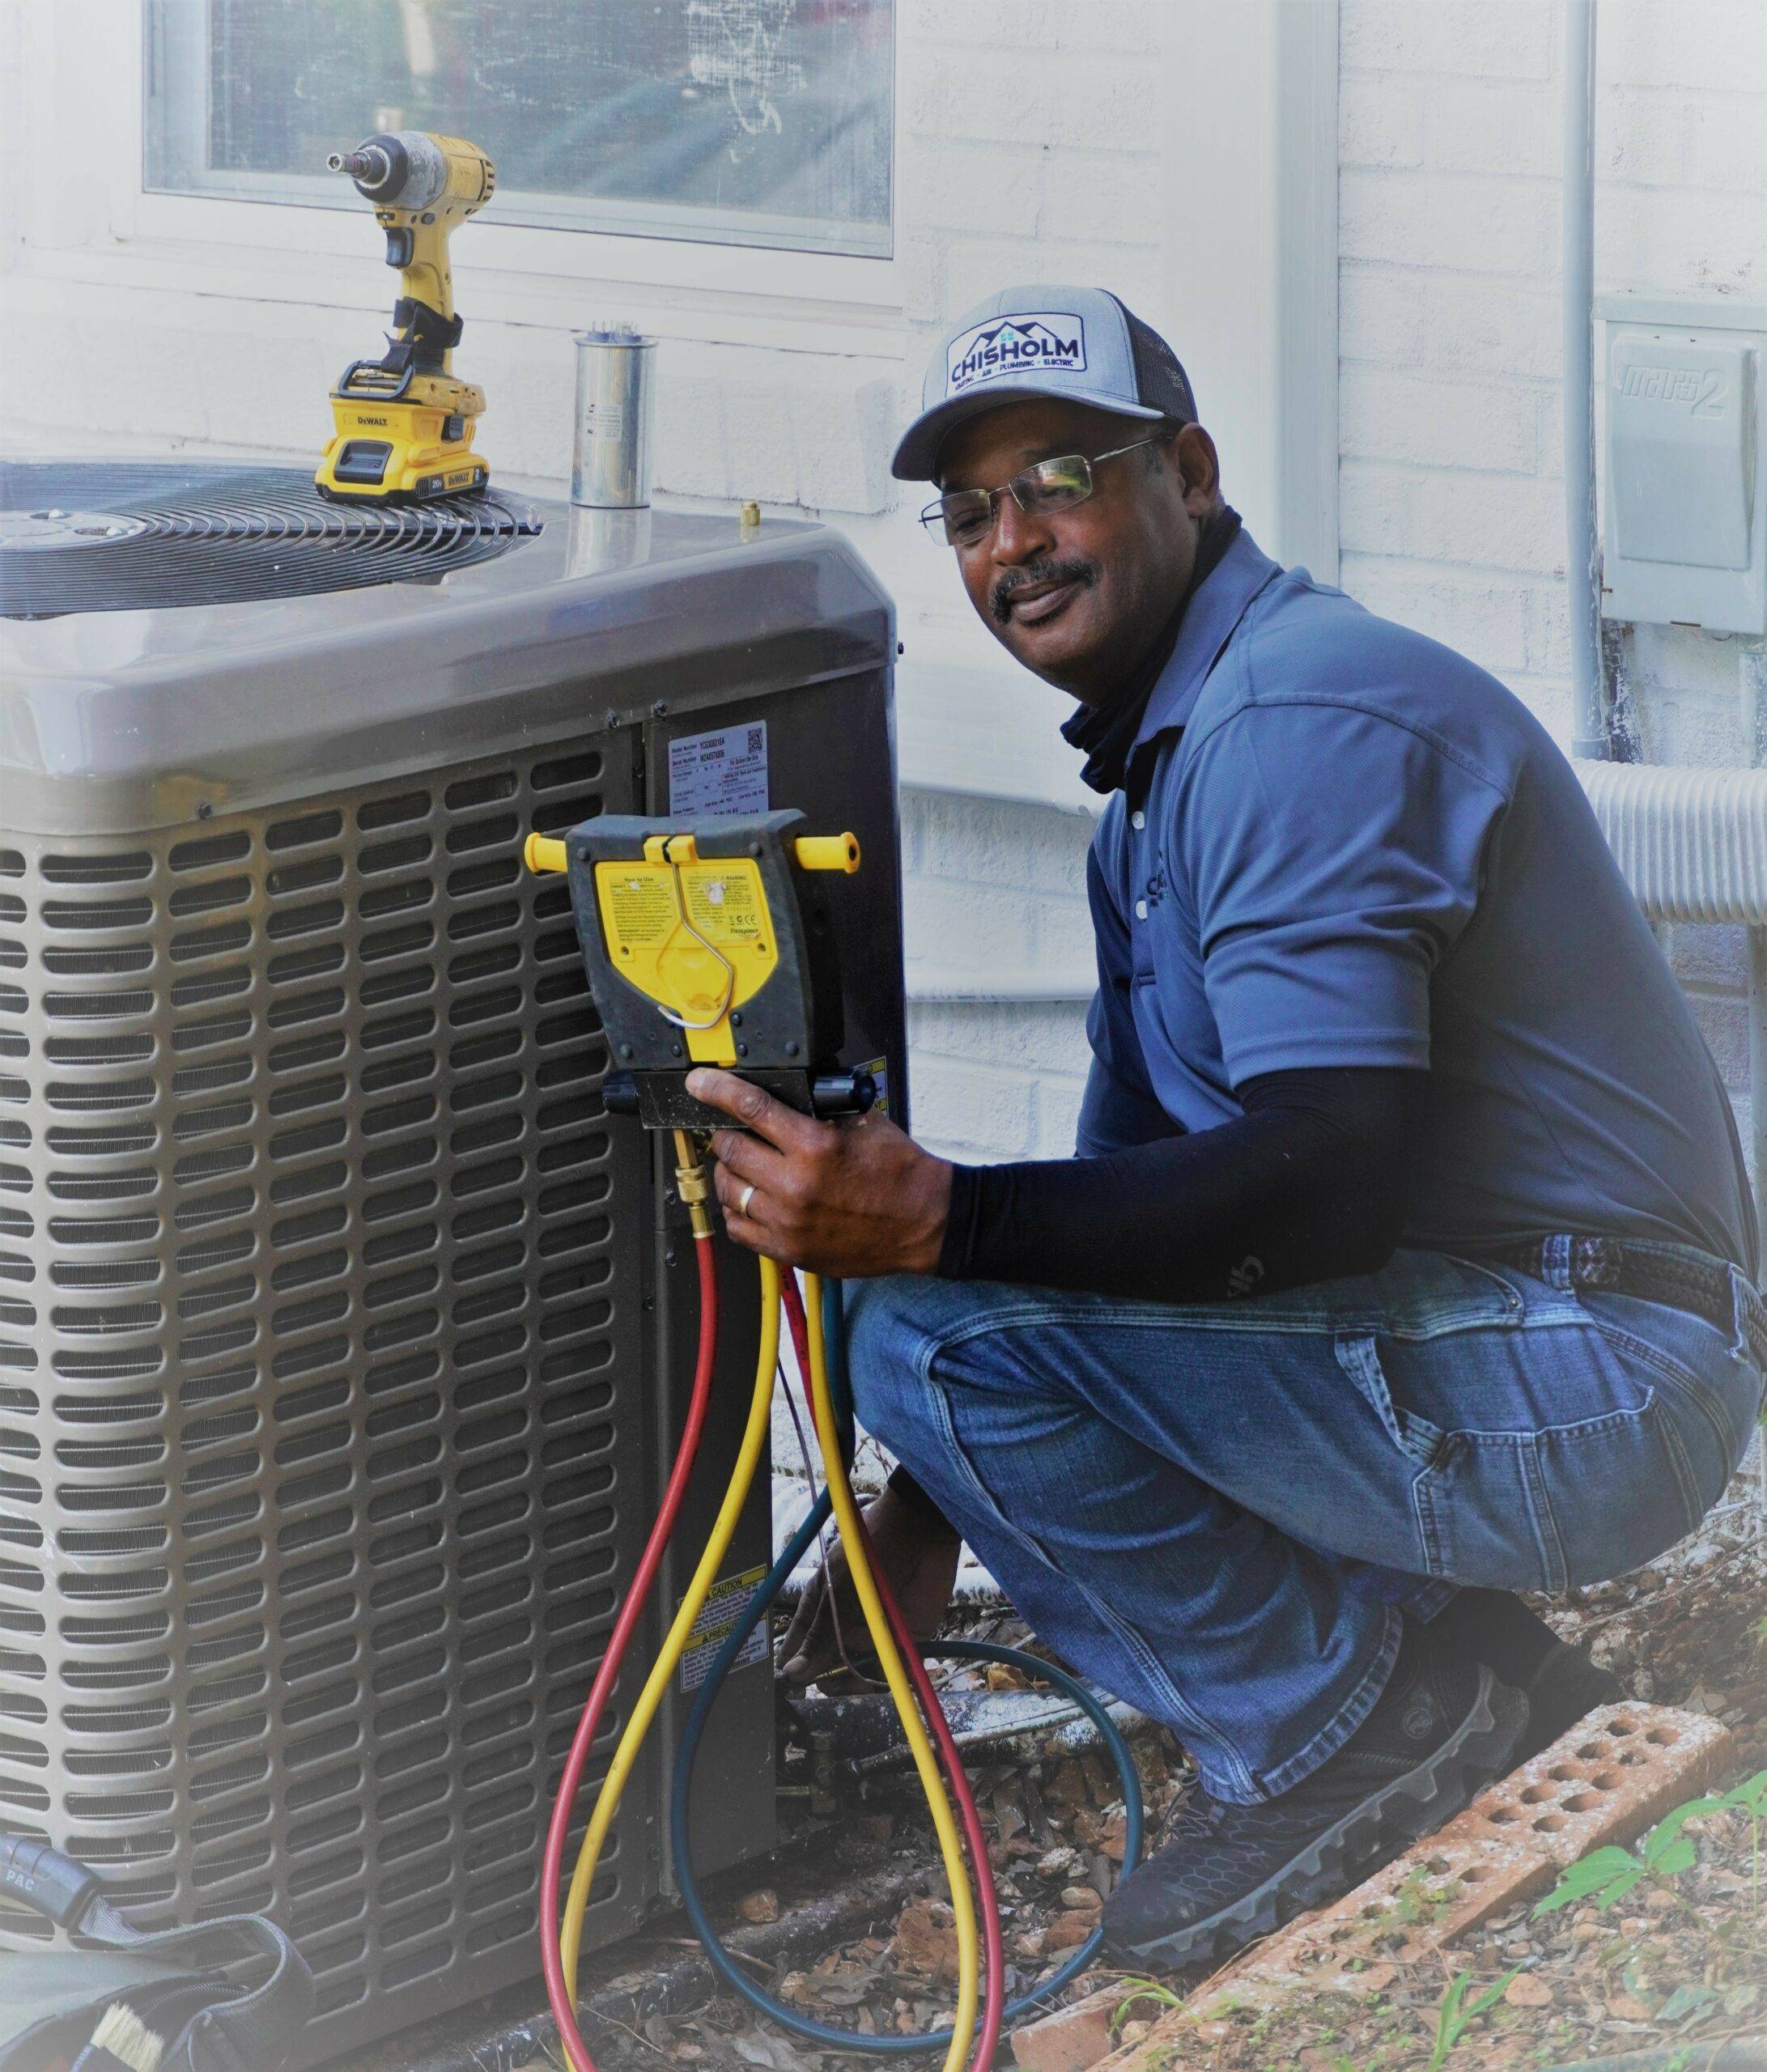
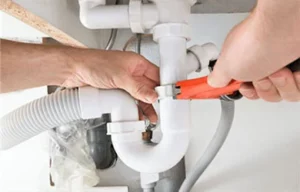
    Carefully inspect the area to identify the location of the burst pipe. If the damage is visible and accessible, it may help you explain the situation to a professional plumber when seeking assistance.
  4. Contact a Professional Plumber for Emergency Repairs
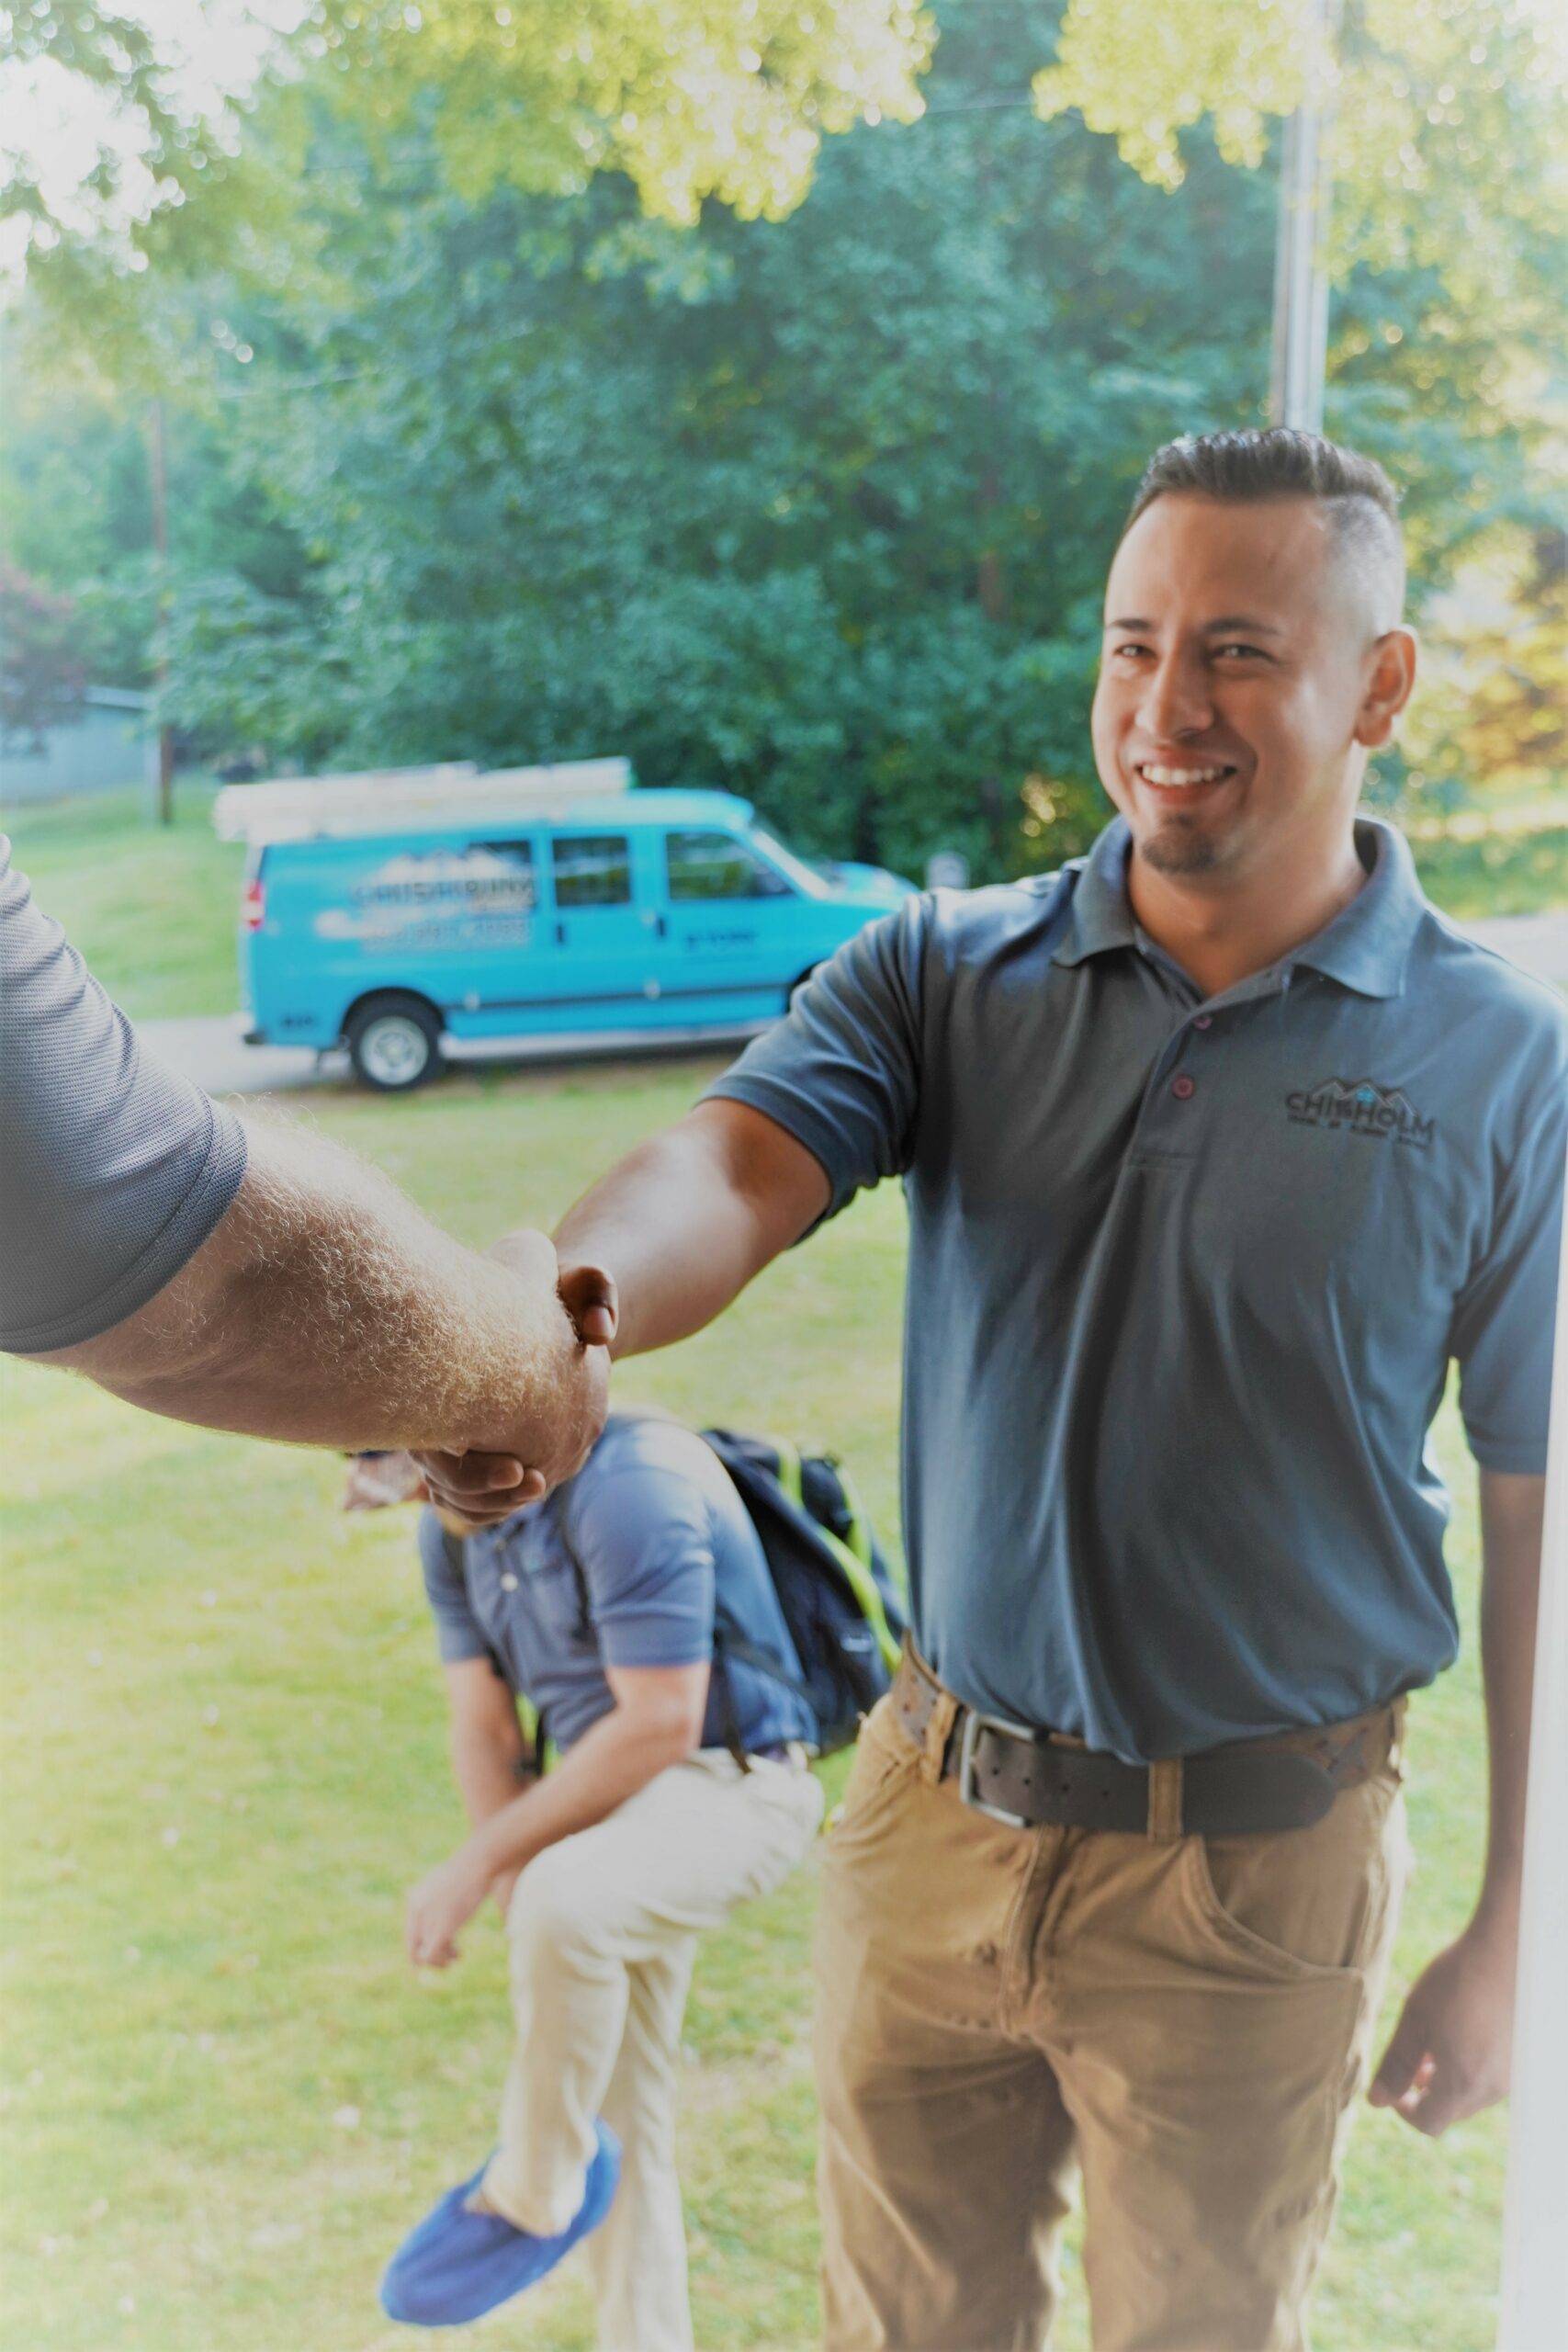
    Once you’ve taken initial measures, it’s crucial to contact a professional plumber for emergency repairs. At Chisholm Plumbing, Heating & Air Conditioning, our experienced team is available to provide prompt assistance and effective solutions to address pipe bursts and prevent further damage.
  5. Move Valuables Away from the Affected Area
    If possible, move furniture, electronics, and other valuable items away from the affected area to prevent water damage. Use towels and buckets to manage any remaining water flow until help arrives.

By taking these immediate steps, you can effectively manage a pipe burst situation and protect your home from extensive damage. In the next section, we’ll explore how to minimize damage and ensure safety during a pipe burst emergency.

pipe repair under sink

How to Minimize Damage and Ensure Safety

Once you’ve taken the initial steps to control the situation, it’s important to focus on minimizing damage and ensuring the safety of everyone in your home. Here are some practical steps you can take:

  1. Move Furniture and Valuables Away from the Affected Area
    If water is pooling near furniture or valuable items, move them to a dry location. This can help prevent water damage and protect your belongings. Use plastic sheets or waterproof containers to shield items that can’t be moved easily.
  2. Use Towels and Buckets to Manage Water Flow
    Place towels and buckets around the affected area to absorb water and prevent it from spreading further. This can help contain the situation until professional help arrives.
  3. Turn Off Electricity if Water is Near Electrical Outlets
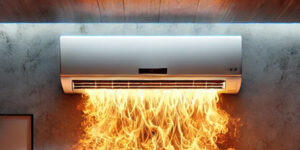
    If water is near electrical outlets, switches, or appliances, it’s essential to turn off the electricity in that area to prevent electrical hazards. Locate your electrical panel and switch off the circuit breakers for the affected areas. If you’re unsure about handling electrical issues, it’s best to consult a professional.
  4. Ensure Everyone’s Safety
    Ensure that everyone in your home is safe and away from the affected area, especially if there is a risk of electrical hazards. Keep children and pets away from the water until the situation is under control.
  5. Ventilate the Area
    Open windows and doors to allow fresh air to circulate and help dry out the area. This can also reduce humidity and prevent the growth of mold and mildew, which can thrive in damp environments.

By taking these measures, you can effectively manage the situation, reduce damage, and prioritize safety. If you need professional assistance, don’t hesitate to contact Chisholm Plumbing, Heating & Air Conditioning for prompt and reliable service.

Common Causes of Burst Pipes

Understanding the common causes of burst pipes can help you take preventive measures to protect your home. Here are some of the most frequent reasons pipes burst:

  1. Freezing Temperatures
    During the winter months, water inside pipes can freeze and expand, leading to increased pressure and eventually causing pipes to burst. This is especially common in areas with extreme cold and poorly insulated pipes.
  2. Corrosion and Age
    Over time, pipes can corrode due to chemical reactions between water and metal pipes. This corrosion weakens the pipes, making them more susceptible to cracks and breaks. Older homes are particularly at risk, as the pipes may be past their prime.
  3. High Water Pressure
    Excessive water pressure can strain pipes and cause them to rupture. Ensuring that your water pressure is within the recommended range can help prevent pipe bursts. If you’re unsure about your water pressure, consider having it checked by a professional.
  4. Clogs and Blockages
    Accumulated debris, grease, and foreign objects can cause clogs in pipes, leading to increased pressure and eventually a burst. Regular maintenance and drain cleaning can help prevent clogs from becoming a serious issue. For more on how to maintain clean drains, check out our drain cleaning services.
  5. Tree Root Infiltration
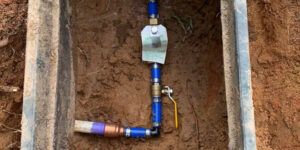
    Tree roots can grow into underground pipes, causing blockages and cracks. This is more common in older homes with clay or cast iron pipes. Regular inspections can help identify potential issues before they become serious problems. Learn more about our sewer line services to address such issues.

Understanding these common causes can help you take proactive steps to prevent burst pipes and protect your home. In the next section, we’ll discuss preventive measures to keep your pipes in excellent condition.

Preventive Measures to Avoid Future Pipe Bursts

Taking proactive steps to protect your plumbing system can help prevent pipe bursts and save you from costly repairs. Here are some effective preventive measures:

  1. Insulate Your Pipes
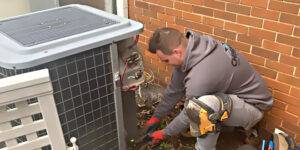
    Proper insulation is crucial, especially for pipes in unheated areas such as basements, attics, and garages. Insulating pipes can help protect them from freezing temperatures during winter, reducing the risk of bursts. Pipe insulation materials are widely available and can be easily installed or you can seek professional assistance.
  2. Schedule Regular Maintenance and Inspections
    Regular maintenance and inspections by a professional plumber can help identify potential issues before they become serious problems. This includes checking for signs of corrosion, leaks, and weak spots in your plumbing system. Our team at Chisholm Plumbing, Heating & Air Conditioning offers comprehensive plumbing maintenance services to keep your pipes in top condition.
  3. Monitor Your Water Pressure
    Ensure your home’s water pressure is within the recommended range (typically between 40-60 psi). High water pressure can stress pipes, increasing the risk of bursts. A water pressure gauge can help you monitor pressure levels, or you can have a professional assess it for you.
  4. Clear Drains and Prevent Clogs
    Regularly clear your drains of debris and avoid flushing items that can cause blockages. This practice can help maintain optimal water flow and reduce the risk of pressure buildup. For thorough cleaning and maintenance, consider our professional drain cleaning services.
  5. Prepare Your Plumbing for Seasonal Changes
    Before the onset of winter, ensure all outdoor hoses are disconnected and drained. Shut off water to outdoor faucets if possible, and cover them with insulated covers. This can help prevent frozen pipes and minimize the risk of bursts during cold weather.

By implementing these preventive measures, you can significantly reduce the likelihood of experiencing a pipe burst and ensure your plumbing system remains efficient and reliable. For more information on maintaining your plumbing system, explore our range of services at Chisholm Plumbing, Heating & Air Conditioning.

leaky pipe

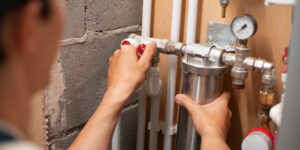
The Importance of Professional Help

When dealing with a pipe burst or any plumbing issue, relying on professional help is crucial to ensure a thorough and lasting solution. Here’s why professional assistance is invaluable:

  1. Expert Assessment and Repair
    Professionals have the expertise to accurately assess the extent of the damage and identify the root cause of the pipe burst. They use specialized tools and techniques to repair the damage effectively, ensuring your plumbing system is restored to optimal condition. Our team at Chisholm Plumbing, Heating & Air Conditioning is trained to handle all types of plumbing emergencies with precision and care.
  2. Preventive Solutions
    In addition to addressing immediate issues, professional plumbers provide advice and solutions to prevent future problems. They can recommend improvements to your plumbing system, such as upgrading materials or installing pressure regulators, to enhance durability and performance.
  3. Time and Cost Efficiency
    Attempting to fix a pipe burst on your own can be time-consuming and may lead to further complications if not done correctly. Professional plumbers can quickly diagnose and fix issues, saving you time and potential additional costs from DIY mistakes.
  4. Peace of Mind
    Hiring professionals gives you peace of mind knowing that your plumbing issues are being handled by experienced experts. This allows you to focus on other important aspects of your life without worrying about the integrity of your home’s plumbing system.
  5. Comprehensive Services
    At Chisholm Plumbing, Heating & Air Conditioning, we offer a range of services to meet all your plumbing needs, including water heater maintenance, sump pump installation, and water and gas line services. Our comprehensive approach ensures your entire plumbing system is well-maintained and efficient.

By choosing professional help, you can ensure that your plumbing system is in capable hands, reducing the risk of future emergencies and extending the lifespan of your plumbing infrastructure.

For prompt and reliable service, contact Chisholm Plumbing, Heating & Air Conditioning and let our skilled team handle your plumbing needs with expertise and care.

An image of a Chisholm team member in Mauldin.

Conclusion

Dealing with a pipe burst can be a stressful experience, but knowing the right steps to take can help you manage the situation effectively and minimize damage. By turning off the main water supply, contacting a professional plumber, and taking preventive measures, you can protect your home and prevent future plumbing emergencies.

Understanding the common causes of pipe bursts, such as freezing temperatures, corrosion, and high water pressure, can help you implement preventive strategies to safeguard your plumbing system. Regular maintenance, inspections, and professional assistance are key to ensuring your plumbing remains in optimal condition.

At Chisholm Plumbing, Heating & Air Conditioning, we are committed to providing top-quality plumbing services to keep your home safe and comfortable. Whether you need emergency repairs, routine maintenance, or expert advice, our team is here to help. Explore our service area to see if we serve your location and contact us for all your plumbing needs.

Don’t wait for a plumbing emergency to strike—take proactive steps today to protect your home. Reach out to Chisholm Plumbing, Heating & Air Conditioning for expert service and peace of mind.

fix low water pressure

Water pressure plays a crucial role in our everyday lives, from taking a refreshing shower to washing dishes and clothes. When the water pressure is too low, these simple tasks can become frustrating and time-consuming. Whether you’re dealing with a trickle from your showerhead or a slow-filling washing machine, low water pressure is a common issue that affects many homes.

This blog will help you understand the typical causes of low water pressure and provide easy, effective solutions to resolve it. Whether you’re a DIY enthusiast or someone who prefers to call a professional, we’ve got you covered. By the end of this post, you’ll have a clear plan to restore strong water flow and get back to your daily routine without hassle.

If you’re experiencing persistent plumbing problems or need professional assistance, Chisholm Plumbing, Heating & Air Conditioning is here to help. We offer comprehensive plumbing services to ensure your system is running smoothly. Let’s dive in and explore the solutions!

Identify the Problem

Before you can fix low water pressure, it’s important to identify the root cause. This will help you choose the most effective solution and avoid unnecessary repairs.

Signs of Low Water Pressure

  • Weak Shower Stream: If your shower isn’t providing a strong stream, you may be dealing with low water pressure.
  • Slow Faucet Flow: Faucets that take longer to fill a pot or glass than usual can signal an issue.
  • Inconsistent Pressure: If water pressure varies dramatically throughout your home, this may indicate an underlying problem.
  • Appliance Performance: Appliances like washing machines and dishwashers might take longer to fill or operate less effectively.

Diagnosing the Issue

  1. Check Multiple Fixtures: Begin by checking the water pressure at different fixtures in your home. If only one fixture is affected, the problem may be isolated to that area.
  2. Evaluate Water Flow: Consider if the low water pressure is consistent throughout the day or only at certain times. If it changes, it might be due to peak usage hours in your neighborhood.
  3. Inspect for Obvious Issues: Look for visible leaks or signs of water damage around your home. Leaks can significantly reduce water pressure.

Identifying these issues can help you decide whether it’s a simple fix or time to call in professionals. If you need assistance diagnosing or fixing low water pressure, our expert team at Chisholm Plumbing, Heating & Air Conditioning is ready to help. Explore our full range of drain cleaning and sewer line services to ensure your system is working perfectly.

Why Is My Water Bill So High

Common Causes of Low Water Pressure

Understanding the causes of low water pressure can help you determine the best course of action for fixing it. Here are some of the most common reasons why your water pressure might be low:

1. Mineral Buildup in Pipes

Over time, minerals from hard water can accumulate inside your pipes, reducing the available space for water to flow through. This can lead to a gradual decrease in water pressure throughout your home.

2. Leaks in the Plumbing System

Leaks can occur in any part of your plumbing system, from pipes to fixtures. Even a small leak can cause a significant drop in water pressure. Look for signs of water damage, damp spots, or unusually high water bills, which can all indicate a leak.

3. Problems with the Water Pressure Regulator

The water pressure regulator is a valve that ensures water pressure remains at a safe level. If it malfunctions, you might experience either low or excessively high water pressure. Adjusting or replacing the regulator can often resolve the issue.

4. Municipal Water Supply Issues

Sometimes, the problem lies outside your home. If your neighborhood is experiencing water supply issues, such as main breaks or maintenance work, it could affect the water pressure in your home. Contact your local water provider to inquire about any known issues.

By identifying the specific cause of low water pressure in your home, you can take the appropriate steps to address it. For more serious issues, or if you’re unsure of the cause, the professionals at Chisholm Plumbing, Heating & Air Conditioning are here to help with everything from sump pumps to water heaters.

DIY Solutions to Improve Water Pressure

If you’ve identified low water pressure in your home, there are several DIY solutions you can try to improve it. These methods are simple, cost-effective, and can often restore your water pressure without needing professional assistance.

1. Clean Aerators and Showerheads

Over time, mineral deposits and debris can clog aerators and showerheads, reducing water flow.

  • How to Clean Aerators: Unscrew the aerator from the faucet, soak it in a solution of equal parts vinegar and water for about an hour, then scrub it with a toothbrush to remove buildup.
  • How to Clean Showerheads: Remove the showerhead and soak it in vinegar overnight, or fill a plastic bag with vinegar and secure it around the showerhead with a rubber band, ensuring the nozzles are submerged.

2. Check for Visible Leaks

Leaks can cause a significant drop in water pressure. Inspect exposed pipes, faucets, and fixtures for any signs of leakage. If you find a leak, repair it promptly to restore water pressure.

  • Temporary Fixes: Use plumbing tape or a pipe repair clamp for a temporary fix until professional repairs can be made.

3. Adjust the Pressure Regulator

If your home has a water pressure regulator, adjusting it can help restore proper pressure levels. Locate the regulator (usually near the main water shut-off valve) and use a wrench to adjust the screw on the top:

  • Increase Pressure: Turn the screw clockwise.
  • Decrease Pressure: Turn the screw counterclockwise.

Be cautious not to increase the pressure too much, as it can damage your plumbing system.

4. Ensure the Main Shut-off Valve is Fully Open

If the main shut-off valve isn’t fully open, it can restrict water flow throughout your home. Locate the valve, usually near where the water supply enters your home, and ensure it’s turned fully counterclockwise.

These DIY solutions can often resolve low water pressure issues quickly and easily. However, if these steps don’t solve the problem, or if you prefer professional assistance, contact Chisholm Plumbing, Heating & Air Conditioning for expert help. We offer a range of services, including water and gas line inspections, to ensure your plumbing system is functioning at its best.

water filtration

When to Call a Professional

While many water pressure issues can be resolved with DIY methods, some situations require the expertise of a professional plumber. Knowing when to call a professional can save you time and prevent further damage to your plumbing system.

Signs You Need Professional Help

  1. Persistent Low Water Pressure
    • If you’ve tried DIY solutions and your water pressure remains low, there might be a more complex issue at play. A professional can diagnose and address hidden problems, such as underground leaks or corroded pipes.
  2. Frequent Leaks
    • Recurring leaks indicate a systemic problem that requires professional intervention. A plumber can identify the root cause and provide long-term solutions to prevent future issues.
  3. Unusual Noises in Pipes
    • If you hear banging, clanging, or other strange noises when using water, it could be a sign of pressure imbalance or air in the pipes. A professional can safely resolve these issues.
  4. Sudden Drop in Water Pressure
    • If you experience a sudden drop in water pressure, it could be due to a major leak or a failure in your pressure regulator. Prompt professional attention can prevent extensive damage.

Benefits of Professional Inspection and Repair

  • Comprehensive Diagnosis: Professionals use advanced tools to accurately diagnose water pressure issues and identify underlying causes.
  • Expert Repairs: With experience and knowledge, professional plumbers can provide effective and durable repairs, ensuring your plumbing system operates efficiently.
  • Preventive Maintenance: Regular inspections and maintenance by professionals can prevent future problems and extend the lifespan of your plumbing system.

At Chisholm Plumbing, Heating & Air Conditioning, we offer expert plumbing services in the service area to address all your water pressure concerns. Whether it’s a simple adjustment or a complex repair, our skilled team is ready to help.

Preventive Measures

To maintain optimal water pressure and avoid future issues, it’s important to take preventive measures. Regular maintenance and a few simple practices can help keep your plumbing system in top condition.

1. Schedule Regular Plumbing Inspections

Having a professional plumber inspect your system annually can help identify and address potential issues before they become major problems. Inspections can catch early signs of leaks, corrosion, or pressure imbalances, ensuring your plumbing system runs smoothly.

2. Install a Water Softener

If your home has hard water, installing a water softener can help reduce mineral buildup in your pipes. This device removes calcium and magnesium ions, which are responsible for scaling, prolonging the life of your plumbing system and maintaining good water pressure.

3. Clean Aerators and Showerheads Regularly

Regularly cleaning your faucets’ aerators and showerheads can prevent mineral buildup and maintain strong water flow. Soak these fixtures in a vinegar solution every few months to keep them clean and functional.

4. Monitor Water Pressure

Use a water pressure gauge to monitor your home’s water pressure periodically. Ideal water pressure should be between 40 and 60 psi. If you notice any significant changes, investigate promptly or call a professional for assistance.

5. Keep Your Pipes Insulated

Insulating your pipes helps prevent freezing and bursting in colder months, reducing the risk of leaks that can affect water pressure. Foam pipe insulation is easy to install and available at most hardware stores.

Taking these preventive measures can help you maintain optimal water pressure and avoid unexpected plumbing issues. For expert assistance with plumbing maintenance or repairs, contact Chisholm Plumbing, Heating & Air Conditioning. Our team is dedicated to providing reliable and professional service to keep your system running smoothly.

increase water pressure with a booster pump

Conclusion

Low water pressure can be a frustrating issue, but understanding its causes and taking the right steps can help you resolve it quickly. Whether you’re tackling simple DIY fixes or calling in professionals for more complex problems, restoring proper water pressure can significantly improve your daily routines and home comfort.

By keeping an eye on your plumbing system and performing regular maintenance, you can prevent many common issues and ensure your home’s water pressure remains consistent and reliable. Remember, when in doubt, it’s always best to consult with professionals who can provide expert guidance and solutions tailored to your needs.

Contact Us Today!

If you’re experiencing persistent low water pressure or need help with your plumbing system, don’t hesitate to reach out to Chisholm Plumbing, Heating & Air Conditioning. Our team of experienced professionals is here to assist you with everything from routine inspections to complex repairs. Visit our service area page to see if we’re available in your location, and contact us today to schedule an appointment!

fix leaky faucet

A leaky faucet can be more than just an annoying drip—it can lead to increased water bills and potential water damage over time. Fixing a leaky faucet is a simple task that many homeowners in Greer, SC, can tackle on their own. By addressing leaks early, you can prevent costly repairs and conserve water.

Common causes of a leaky faucet include worn-out washers, faulty O-rings, or damaged valve seats. Understanding these issues can help you fix the problem efficiently. Whether it’s in your bathroom, kitchen, or any other area of your home, repairing a leaky faucet can save both money and resources.

If you encounter plumbing issues beyond a simple leaky faucet, Chisholm Plumbing, Heating & Air Conditioning offers a range of professional services to assist you. From drain cleaning and sewer line repairs to sump pump installations and water heater maintenance, our team is here to help. Check out our full list of plumbing services to find the solution you need.

Tools and Materials Needed

Before you start fixing your leaky faucet, gather the following tools and materials to ensure a smooth repair process:

Tools:

  • Adjustable wrench: Essential for loosening nuts and bolts.
  • Screwdriver: A Phillips or flat-head screwdriver may be required to remove faucet handles.
  • Pliers: Useful for gripping and turning components.
  • Allen wrench: Some faucets require an Allen wrench to remove the handle.
  • Penetrating oil: Helps loosen any corroded or stuck parts.

Materials:

  • Replacement washers or O-rings: The most common cause of leaks is worn-out washers or O-rings, so it’s wise to have replacements on hand.
  • Faucet grease: Use this to lubricate components during reassembly.
  • Cloth or rag: For cleaning up any excess water and ensuring parts are dry.

Having these tools and materials ready will make the repair process more efficient. If you encounter issues beyond your expertise, the team at Chisholm Plumbing, Heating & Air Conditioning is ready to assist you with any plumbing repairs in the Greer, SC area. You can always contact us for expert help.

sink faucet replacement

Step-by-Step Guide to Fixing a Leaky Faucet

Fixing a leaky faucet is a straightforward process that you can complete in just a few steps. Follow this guide to stop that annoying drip and save on your water bills.

Step 1: Turn Off the Water Supply

Before you begin, turn off the water supply to the faucet. Look for the shut-off valves under the sink and turn them clockwise to close. If you can’t find them, you may need to shut off the main water supply for your home. Once the water is off, open the faucet to drain any remaining water in the pipes.

Step 2: Remove the Faucet Handle

Next, remove the faucet handle to access the internal components. Use a screwdriver or Allen wrench to loosen the screw holding the handle in place. Carefully lift the handle off to reveal the stem or cartridge underneath.

Step 3: Replace the Washer or O-Ring

Inspect the stem or cartridge for damage. If you see a worn-out washer or O-ring, it’s time to replace it. Use pliers to remove the nut securing the stem or cartridge and gently pull it out. Remove the old washer or O-ring and replace it with a new one that matches the size and shape of the original.

Step 4: Reassemble the Faucet

Once the new washer or O-ring is in place, reassemble the faucet by reversing the steps you took to dismantle it. Tighten the nut securing the stem or cartridge, then replace the handle and secure it with the screw. Be careful not to overtighten, as this could damage the components.

Step 5: Turn the Water Supply Back On and Test

Finally, turn the water supply back on and test the faucet. Slowly open the shut-off valves and turn on the faucet to check for leaks. If the leak persists, you may need to repeat the steps or seek professional help.

Fixing a leaky faucet can often resolve the issue, but if you find that the leak continues, it might indicate a more complex problem. Chisholm Plumbing, Heating & Air Conditioning offers comprehensive plumbing services, including water and gas line repairs, to ensure your home’s plumbing system runs smoothly.

Home Faucet

Troubleshooting Tips

Even with careful execution, you might encounter some challenges while fixing a leaky faucet. Here are a few troubleshooting tips to help you overcome common issues:

1. Persistent Leaks

  • Check the washer and O-ring: If the leak persists, ensure the replacement parts are the correct size and properly seated.
  • Inspect the valve seat: A damaged valve seat can cause leaks. You may need to clean or replace it if it’s corroded.
  • Examine the cartridge: If your faucet has a cartridge, it may need replacement if worn or damaged.

2. Difficulty Removing the Handle

  • Apply penetrating oil: If the handle is stuck, use penetrating oil to loosen any rust or corrosion. Let it sit for a few minutes before attempting to remove it again.
  • Use the right tools: Ensure you have the correct size screwdriver or wrench to avoid stripping the screws.

3. Low Water Pressure

  • Check for debris: Debris in the faucet aerator or within the pipes can cause low water pressure. Clean the aerator by unscrewing it and rinsing it thoroughly.
  • Inspect the supply lines: Ensure the water supply lines are not kinked or obstructed.

4. When to Call a Professional

If you’ve tried these steps and your faucet still leaks, or if you’re uncomfortable handling plumbing repairs, it’s time to call in a professional. At Chisholm Plumbing, Heating & Air Conditioning, our experienced technicians are ready to tackle any plumbing challenge, from faucet repairs to complex issues like sump pump installations and sewer line services. Don’t hesitate to contact us for expert assistance.

water filtration

Conclusion

Fixing a leaky faucet is a straightforward task that can help you save money on water bills and prevent potential water damage in your home. By following the steps outlined in this guide, you can quickly address the issue and ensure your plumbing system functions efficiently.

Remember, if you encounter any challenges or if the leak persists despite your efforts, it’s important to seek professional assistance. At Chisholm Plumbing, Heating & Air Conditioning, we are dedicated to providing high-quality plumbing services to homeowners in Greer, SC. Whether you need help with a leaky faucet, water heater maintenance, or any other plumbing issue, our team is ready to assist.

Taking action now can prevent bigger problems down the road. Ensure your home’s plumbing is in top shape by handling repairs promptly and reaching out for professional help when needed.

AC leaking water inside

Experiencing water leaking from your air conditioning unit can be alarming, especially during the hot and humid summers in Greer, SC. This issue is not only inconvenient but can also lead to significant damage to your home if not addressed promptly. Understanding why your AC might be leaking and how to fix it is crucial for maintaining a comfortable and safe home environment.

In this blog post, we’ll explore common causes of AC leaks, offer practical solutions, and provide preventive measures to help you avoid future problems. Whether you’re dealing with a minor issue or need professional assistance, Chisholm Plumbing, Heating & Air Conditioning is here to help you keep your home cool and dry.

Common Causes of AC Leaking Water Inside

Understanding the root causes of an air conditioner leaking water inside your home is the first step toward resolving the issue. Here are some common culprits:

1. Clogged Condensate Drain Line

The condensate drain line is responsible for removing the moisture your AC unit extracts from the air. Over time, this line can become clogged with dirt, dust, or mold, causing water to back up and leak inside your home.

2. Dirty Air Filters

Dirty air filters can restrict airflow over the evaporator coil, causing the coil to freeze. When the coil melts, the excess water can overflow the drain pan and leak inside.

3. Low Refrigerant Levels

Low refrigerant levels can lead to lower pressure in the AC system, causing the evaporator coil to freeze. Like dirty filters, when the coil thaws, it may result in water leakage.

4. Damaged or Disconnected Drain Pan

The drain pan collects water that drips off the evaporator coil. If the pan is cracked, rusted, or improperly positioned, water may leak into your home.

5. Improper Installation

Improper installation can lead to several issues, including incorrect sizing or a poorly designed drainage system. This can cause the unit to malfunction and leak water inside.

Understanding these common issues can help you diagnose the problem and determine whether it’s something you can fix on your own or if you need to seek professional assistance.

slab-leak

Potential Solutions for Each Cause

Once you identify the cause of your AC leaking water, you can explore potential solutions to resolve the issue. Here are some practical steps you can take:

Cause DIY Solution Professional Solution
Clogged Condensate Drain Line Use a wet/dry vacuum to clear blockages. Pour a vinegar and water mixture down the line to prevent clogs. Contact Chisholm Plumbing, Heating & Air Conditioning for inspection and cleaning.
Dirty Air Filters Check and replace air filters every 1-3 months to maintain airflow and prevent leaks. Schedule regular maintenance with Chisholm Plumbing, Heating & Air Conditioning.
Low Refrigerant Levels Not recommended for DIY due to the complexity and need for specialized tools. Have refrigerant levels checked and refilled by a certified technician.
Damaged or Disconnected Drain Pan Inspect for visible cracks or damage; use waterproof sealant for temporary repairs. For permanent fixes or replacement, consult Chisholm Plumbing, Heating & Air Conditioning.
Improper Installation No DIY solution available. Proper installation is crucial for performance and safety. Get the system evaluated and corrected by professionals at Chisholm Plumbing, Heating & Air Conditioning.

Addressing these issues promptly can prevent further damage to your home and ensure your AC system operates efficiently. If you’re unsure about handling these solutions on your own, don’t hesitate to reach out to professionals for assistance.

Preventive Measures to Avoid Future Leaks

Preventing AC leaks involves regular maintenance and proactive care. Here are some key measures you can take to avoid leaks in the future:

Regular Maintenance

  • Schedule Annual Inspections: Regular check-ups by a professional can catch potential issues before they become major problems. Contact Chisholm Plumbing, Heating & Air Conditioning for comprehensive AC maintenance services.
  • Clean and Replace Air Filters: Change air filters every 1-3 months to ensure optimal airflow and prevent dust buildup that can lead to leaks.

Keep the Condensate Drain Line Clear

  • Routine Cleaning: Pour a mixture of vinegar and water down the condensate drain line every few months to prevent clogs. A clean drain line helps keep your system running smoothly.

Monitor Refrigerant Levels

  • Professional Checks: Ensure your refrigerant levels are checked regularly by a professional to prevent freezing coils, which can lead to leaks.

Check the Drain Pan

  • Inspect for Damage: Regularly inspect the drain pan for signs of rust or cracks. Replace it if necessary to avoid water overflow.

Ensure Proper Installation

  • Hire Professionals: When installing or replacing an AC unit, use certified professionals to ensure the system is installed correctly. Chisholm Plumbing, Heating & Air Conditioning offers expert installation services to ensure your unit is set up for optimal performance.

By implementing these preventive measures, you can extend the lifespan of your AC unit and maintain a comfortable, leak-free home environment. Regular maintenance and inspections are key to preventing issues before they arise.

Guide to Air Conditioner Maintenance

Conclusion

AC leaks can be a nuisance, but understanding their causes and solutions can help you address the issue quickly and effectively. Whether it’s a clogged condensate drain line, dirty air filters, or low refrigerant levels, taking prompt action can prevent further damage to your home and ensure your air conditioning system runs smoothly.

Preventive measures, such as regular maintenance and professional inspections, are essential for avoiding future leaks. By keeping up with routine care and addressing issues as they arise, you can enjoy a comfortable and worry-free home environment.

If you’re experiencing AC leaks or need professional assistance, don’t hesitate to contact Chisholm Plumbing, Heating & Air Conditioning. Our expert team is ready to help with all your HVAC needs, from repairs and maintenance to new installations. Visit our service area page to see if we cover your location and schedule a service today.

If your air conditioner is making loud noises, it can be more than just an annoyance—it might be a sign that something is wrong. For residents of Greer, SC, where hot summers make air conditioning essential, dealing with a noisy AC unit promptly is crucial to maintaining comfort and avoiding costly repairs. Whether it’s a banging, hissing, or rattling sound, understanding the cause and knowing how to address it can help ensure your system runs smoothly. In this guide, we’ll explore common causes of AC noises and provide troubleshooting tips to help you keep your cool this summer.

Common Causes of Loud AC Noises

When your air conditioner starts making unusual sounds, it often indicates a specific issue. Here are some of the most common causes of loud AC noises:

  1. Loose or Damaged Parts
    • Over time, the components of your AC unit can become loose or damaged due to regular wear and tear. This can result in banging or clanking noises. These sounds often indicate that parts like the fan blade or motor have come loose and are hitting other components inside the unit.
  2. Fan or Motor Issues
    • A failing fan motor can produce a screeching or squealing noise. This often happens when the bearings in the motor wear out, causing the motor to struggle as it runs. If you hear these sounds, it’s important to address them quickly to prevent further damage.
  3. Refrigerant Leaks
    • A hissing or bubbling noise might suggest a refrigerant leak. Refrigerant is vital for cooling your home, and leaks can reduce your AC’s efficiency and potentially harm the environment. If you suspect a refrigerant leak, contact a professional for immediate assistance.
  4. Clogged Air Filters
    • When air filters become clogged with dust and debris, it can lead to restricted airflow, causing the system to work harder than necessary. This might result in a whistling or hissing sound as air struggles to pass through the filters.
  5. Debris in the Unit
    • If your outdoor unit is located near trees or shrubs, leaves and other debris can get inside and obstruct the fan. This can cause a rattling or buzzing noise. Regular cleaning can help prevent this issue.

Understanding these common causes can help you identify potential problems with your air conditioner early on, allowing for timely repairs and avoiding more serious issues.

An image of Chisholm providing HVAC services in Roebuck.

Troubleshooting Tips

When your air conditioner starts making loud noises, there are several steps you can take to troubleshoot the issue before calling in a professional. Here are some tips to help you identify and possibly resolve the problem:

  1. Inspect the Unit for Loose Parts
    • Turn off the power to your AC unit and check for any visibly loose or damaged parts. Tighten any screws or bolts you find, as this might resolve any banging or clanking noises. Be cautious when handling any components to avoid causing further damage.
  2. Check and Replace Air Filters
    • Dirty air filters can cause a range of problems, including unusual noises. Make it a habit to check and replace your air filters regularly, especially during the peak cooling season. This simple maintenance task can improve airflow and reduce strain on your system.
  3. Identify Specific Noises and Their Meanings
    • Pay attention to the type of noise your AC is making:
      • Banging or Clanking: Loose or broken parts.
      • Screeching or Squealing: Fan or motor issues.
      • Hissing or Bubbling: Possible refrigerant leak.
      • Rattling: Debris or loose parts.
      • Whistling: Airflow restriction.
  4. Importance of Regular Maintenance
    • Regular maintenance is key to preventing issues that cause loud noises. Schedule routine inspections and tune-ups to keep your AC unit running smoothly and efficiently. Our AC maintenance services in Greer can help keep your system in top shape.

By following these troubleshooting tips, you can address minor issues yourself and know when it’s time to call in professional help. This approach can save you time and money, ensuring your AC unit operates quietly and efficiently throughout the season.

When to Call a Professional

While some AC noises can be resolved with basic troubleshooting, certain situations require professional expertise. Here’s when it’s best to contact a professional:

  1. Persistent or Unresolved Noises
    • If you’ve attempted to troubleshoot the issue and the noise persists, it’s time to call a professional. Ignoring these sounds could lead to more significant damage or costly repairs.
  2. Refrigerant Leaks
    • If you suspect a refrigerant leak due to hissing or bubbling noises, it’s crucial to contact a professional immediately. Handling refrigerant requires specialized knowledge and equipment to ensure safe and effective repairs. Our team at Chisholm Plumbing Heating & Air Conditioning can diagnose and fix refrigerant issues safely.
  3. Electrical Issues
    • Buzzing or humming noises might indicate electrical problems within your AC unit. These issues can pose safety risks, so it’s best to leave the troubleshooting and repairs to experienced technicians.
  4. Motor or Fan Problems
    • If your AC unit is making screeching or squealing sounds, it could be due to a failing motor or fan. These components are complex and require professional repair or replacement to prevent further damage.
  5. New or Unfamiliar Noises
    • If your AC unit starts making new or unfamiliar noises that you’ve never heard before, it’s wise to have a professional assess the situation to ensure there are no underlying issues.

Ignoring loud or unusual AC noises can lead to more significant problems and higher repair costs. Our expert technicians are ready to assist with any AC issues you may encounter. For residents of Greer, SC, and the surrounding areas, Chisholm Plumbing Heating & Air Conditioning offers reliable and efficient AC repair services.

ac repair - greer sc

Preventative Measures

Keeping your air conditioner in top condition requires regular maintenance and proactive care. Here are some preventative measures to help ensure your AC unit operates efficiently and quietly:

  1. Regular Maintenance
    • Schedule regular maintenance with a professional HVAC technician to inspect, clean, and tune up your AC unit. Regular check-ups can help identify potential issues before they become significant problems. Our AC maintenance services in Greer are designed to keep your system running smoothly year-round.
  2. Clean the Area Around the Unit
    • Keep the area surrounding your outdoor AC unit clear of debris, leaves, and overgrown vegetation. This helps maintain proper airflow and prevents debris from entering the unit and causing noise or damage.
  3. Replace Air Filters Regularly
    • Change your air filters every one to three months, depending on usage and the type of filter. Clean filters improve air quality and efficiency, reducing the strain on your AC unit and minimizing noise.
  4. Check and Seal Ductwork
    • Inspect your ductwork for any leaks or gaps, and seal them as needed. Leaky ducts can lead to inefficiency and noise as air escapes through the gaps.
  5. Seasonal Preparation
    • Before the start of each cooling season, have your AC unit inspected and serviced. This preparation can prevent unexpected issues and ensure your system is ready to handle the summer heat. Consider an AC installation or replacement if your unit is outdated or inefficient.

By implementing these preventative measures, you can extend the lifespan of your AC unit, improve its efficiency, and reduce the likelihood of unexpected noises or breakdowns.

Guide to Air Conditioner Maintenance

Conclusion

Loud noises coming from your air conditioner are more than just a nuisance; they often indicate underlying issues that require attention. By understanding the common causes of AC noises and following troubleshooting tips, you can address minor problems and know when to seek professional help. Regular maintenance and preventative measures are key to ensuring your AC unit operates quietly and efficiently, providing comfort throughout the hot summer months in Greer, SC.

If you’re experiencing persistent AC noises or need assistance with maintenance, repair, or installation, the team at Chisholm Plumbing Heating & Air Conditioning is here to help. Our expert technicians are ready to diagnose and fix any issues, ensuring your home stays cool and comfortable. For more information on our services, visit our service area page or contact us directly here.

Don’t let loud AC noises disrupt your summer. Take action today to keep your system running smoothly and efficiently!

AC blowing warm air

In the sweltering summers of Greer, SC, a well-functioning air conditioning system is essential for staying comfortable and cool. However, it’s frustrating when your AC starts blowing warm air instead of the refreshing breeze you expect. Several factors can cause this issue, and identifying the right one can be challenging without proper guidance. In this blog post, we’ll explore common reasons why your AC might be blowing warm air and provide practical troubleshooting tips to help you restore comfort to your home.

If you’re experiencing persistent issues with your air conditioning system, our team at Chisholm Plumbing Heating & Air Conditioning is here to help. We offer comprehensive AC repair services in Greer to get your system back up and running efficiently.

Check Your Thermostat Settings

The first step in troubleshooting your AC is to check the thermostat settings. It may seem simple, but incorrect settings are a common cause of AC units blowing warm air. Make sure your thermostat is set to “cool” mode, and the temperature is set lower than the current room temperature.

Sometimes, the thermostat can be accidentally set to “heat” or “fan” mode, which may cause the AC to blow warm air. Additionally, if your thermostat is programmable, ensure that the scheduled settings are correct and haven’t changed unexpectedly.

If your thermostat settings seem correct but you’re still experiencing issues, it might be a sign of a faulty thermostat that needs repair or replacement. In such cases, consulting a professional can help diagnose and fix the problem.

For professional assistance with thermostat issues, contact Chisholm Plumbing Heating & Air Conditioning. We can help ensure your AC system is functioning optimally.

man saving energy in fall in greenville sc

Inspect Air Filters

Dirty or clogged air filters are a common reason for an AC system to blow warm air. Over time, air filters can accumulate dust, dirt, and debris, restricting airflow and reducing the cooling efficiency of your unit. When airflow is blocked, the air circulating through your AC system may not be sufficiently cooled, leading to warm air blowing into your home.

To ensure optimal performance, it’s essential to check and replace your air filters regularly. Most manufacturers recommend changing air filters every 1 to 3 months, depending on usage and air quality. If you have pets or live in an area with high pollen or dust levels, you may need to replace your filters more frequently.

Here’s how you can inspect your air filters:

  1. Turn off the AC unit: Always turn off the power to your AC unit before inspecting or replacing the filters.
  2. Locate the air filter: Check your AC unit’s manual to find the filter’s location, typically found near the return air duct or inside the air handler.
  3. Inspect the filter: Remove the filter and hold it up to a light source. If you can’t see the light through the filter, it’s time to replace it.
  4. Replace with a new filter: Ensure the new filter is the correct size and type for your unit, then install it in the same direction as the old one.

Regular maintenance of air filters not only helps prevent your AC from blowing warm air but also improves indoor air quality and extends the life of your system. For more guidance on AC maintenance, check out our AC maintenance services in Greer.

Examine the Outdoor Unit

Your AC system’s outdoor unit plays a crucial role in cooling your home. If it becomes dirty or obstructed, it can lead to your AC blowing warm air. The outdoor unit, also known as the condenser unit, is responsible for releasing the heat absorbed from inside your home. When dirt, leaves, or other debris accumulate around the unit, it can hinder this heat exchange process, resulting in reduced cooling efficiency.

Here are some steps to ensure your outdoor unit is in good condition:

  1. Turn off the power: Before inspecting or cleaning the outdoor unit, always turn off the power to the AC system for safety.
  2. Clear debris: Remove leaves, grass clippings, and any other debris around the unit to ensure proper airflow.
  3. Clean the fins: Use a gentle brush or vacuum to clean the condenser fins. Be careful not to bend or damage them.
  4. Check for obstructions: Make sure there’s at least two feet of clearance around the unit to allow for adequate airflow.

Keeping the outdoor unit clean can significantly enhance your AC’s performance and prevent it from blowing warm air. Regular maintenance not only ensures efficient cooling but also extends the lifespan of your system.

If you’re unsure about inspecting or cleaning the outdoor unit yourself, our team at Chisholm Plumbing Heating & Air Conditioning is here to help. Learn more about our AC installation and replacement services in Greer if you’re considering upgrading to a more efficient system.

Air conditioner tripping breaker

Refrigerant Levels

Refrigerant is a crucial component in your AC system, responsible for absorbing and releasing heat to cool your home. If your AC is blowing warm air, low refrigerant levels might be the cause. This can occur due to leaks in the system or insufficient refrigerant charge during installation.

Signs of low refrigerant levels include:

  • AC blowing warm or hot air
  • Ice buildup on the refrigerant line or evaporator coil
  • Hissing or bubbling noises from the AC unit
  • Higher than usual energy bills

It’s important to note that refrigerant levels should never decrease under normal circumstances. If your system is low on refrigerant, it likely indicates a leak that needs professional attention. Attempting to add refrigerant yourself is not recommended, as it requires specialized tools and knowledge.

If you suspect a refrigerant issue, it’s best to contact a qualified HVAC technician. Our team at Chisholm Plumbing Heating & Air Conditioning can diagnose refrigerant leaks and perform necessary repairs to restore your AC’s cooling efficiency. You can learn more about our AC repair services in Greer and how we can help you get your system back in top shape.

Electrical Issues

Electrical issues can be another common reason your AC is blowing warm air. Problems such as tripped breakers, blown fuses, or faulty wiring can interrupt the power supply to your AC system, affecting its ability to cool your home effectively.

Here are some common electrical issues to check:

  1. Tripped Breakers: Check your home’s electrical panel for tripped breakers. Resetting a tripped breaker can sometimes restore power to your AC unit.
  2. Blown Fuses: If your AC system has a fuse box, check for blown fuses and replace them if necessary.
  3. Faulty Wiring: Loose or damaged wiring within the AC system can disrupt power and lead to warm air blowing. This issue requires professional inspection and repair.
  4. Capacitor Problems: The capacitor is a component that helps start the AC’s motors. If it fails, your system might not operate correctly.

While some electrical issues might be simple to fix, others require the expertise of a professional. Handling electrical components without the proper knowledge can be dangerous and may void warranties or cause further damage.

If you suspect electrical issues with your AC, it’s best to consult a qualified technician. Our team at Chisholm Plumbing Heating & Air Conditioning is ready to help you resolve any electrical problems and ensure your system is running smoothly. Reach out to us via our contact page for expert assistance.

electrical panel sparking

Ductwork Problems

Issues with your home’s ductwork can also cause your AC to blow warm air. The ductwork is responsible for distributing cooled air throughout your home, and any problems can significantly impact your AC’s performance. Here are some common ductwork issues to be aware of:

  1. Leaks: Holes or cracks in the ductwork can lead to cooled air escaping before it reaches your living spaces, causing uneven cooling and warm air blowing from the vents.
  2. Poor Insulation: Inadequately insulated ducts can lose cool air as it travels through unconditioned spaces, such as attics or basements, resulting in reduced cooling efficiency.
  3. Obstructions: Debris or dust buildup in the ducts can block airflow, leading to reduced cooling and increased energy consumption.
  4. Incorrectly Sized Ducts: Ducts that are too small or too large for your system can affect airflow and cooling efficiency.

Regular inspection and maintenance of your ductwork can help prevent these issues and ensure your AC system operates effectively. If you notice inconsistent temperatures or suspect duct problems, it may be time to have a professional inspect your system.

Our team at Chisholm Plumbing Heating & Air Conditioning can provide expert ductwork inspections and solutions to ensure your AC system delivers optimal performance. For more information about our service area, visit our service area page.

Conclusion

Keeping your AC system in top shape is essential for staying comfortable during the hot summers in Greer, SC. If your AC is blowing warm air, there are several potential causes, from simple thermostat issues to more complex problems with refrigerant levels or ductwork. By following the troubleshooting tips outlined in this guide, you can identify and resolve many common issues that might be affecting your AC’s performance.

Regular maintenance is key to preventing these problems and ensuring your AC operates efficiently. Whether it’s cleaning air filters, inspecting the outdoor unit, or addressing electrical and ductwork concerns, proactive care can extend the life of your system and save you money on energy bills.

For persistent issues or professional assistance, the experienced team at Chisholm Plumbing Heating & Air Conditioning is here to help. We offer comprehensive AC repair, installation, and maintenance services in Greer, SC. Don’t hesitate to contact us for all your HVAC needs. Our team is dedicated to providing you with reliable solutions to keep your home cool and comfortable.